


On Apples and Caramel...
all of my favorite apple recipes + a recipe for homemade salted caramel

There’s no better fall duo than apples and caramel. It’s warm and classic and we’re fully leaning into it this year. I’ve gathered all of my favorite apple recipes and put them in one central location so you can refer to this post over and over again. You’ll also find a simple recipe for homemade salted caramel sauce that can live in your refrigerator for the next few weeks for all of your dipping, spooning, and drizzling needs. Happy baking, friends!


on caramel…
If making caramel makes you nervous, you are not alone. Sugar’s affinity for crystallization can make the whole caramel making process a little tricky, but it’s easy to master once you know the basics.
First, there are essentially two types of caramel—wet and dry. Wet caramel is sugar cooked with water, while dry caramel is just sugar cooked on it’s own. Wet caramel can be a little easier, the water makes the sugar less prone to crystallization, but it does take a little longer than a dry caramel.
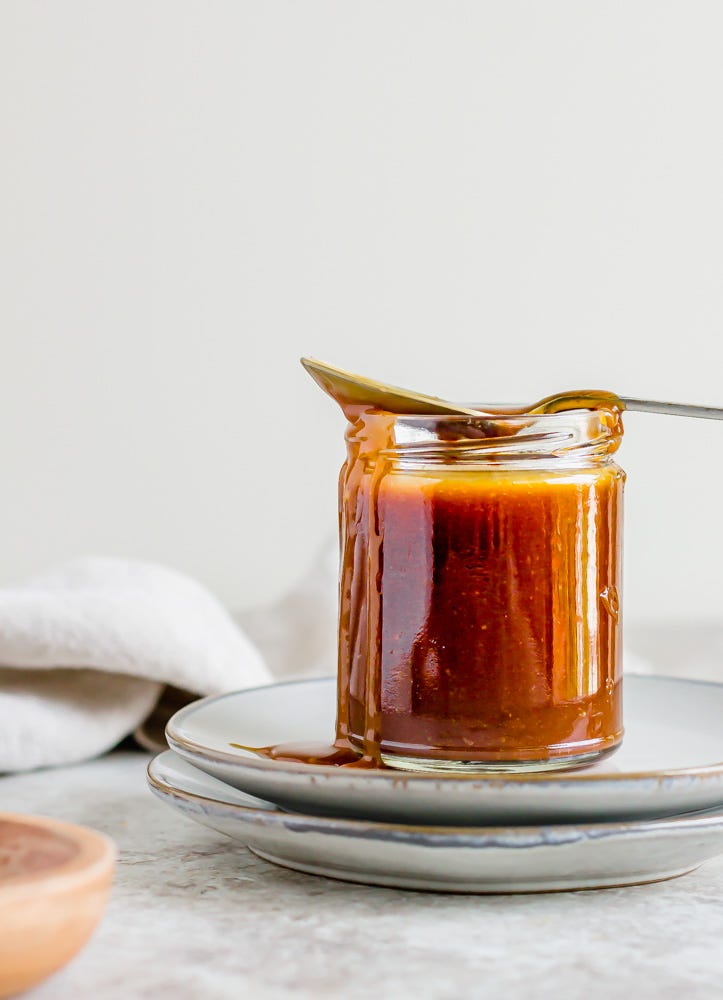
Making a dry caramel consists of cooking sugar in a skillet with a larger surface area and letting it caramelize on its own, agitating it as little as possible to help prevent that pesky crystallization. Then, we whisk in heavy cream, cook it a bit more until it reaches that deep amber color we all know and love, and then whisk in butter and salt. It’s truly as simple as that and it’s the gift that keeps on giving. *You’ll find measurements for this recipe at the end of this newsletter.*
For a wet caramel, sugar is cooked with water (and often a tiny bit of lemon juice) for a longer period of time, swirling every so often, until it begins to bubble and darken in color. Wet caramel is often used in applications that are a portion of recipe—think the caramel poured into a pan for a flan or an upside down.
And a few tips to make things easier…
Because caramel cooks so quickly, I like to get all of my tools and equipment ready beforehand. For this recipe in this newsletter, you'll need: a large skillet, a wooden spoon, a whisk, a cork or hotpad, bowls for your butter, sugar, and cream, and a clean bowl for your caramel to cool in.
When cooking sugar, remember that agitation = crystallization, which is what we are trying to prevent. Stirring your sugar as little as possible before it has dissolved is key to smooth caramel.
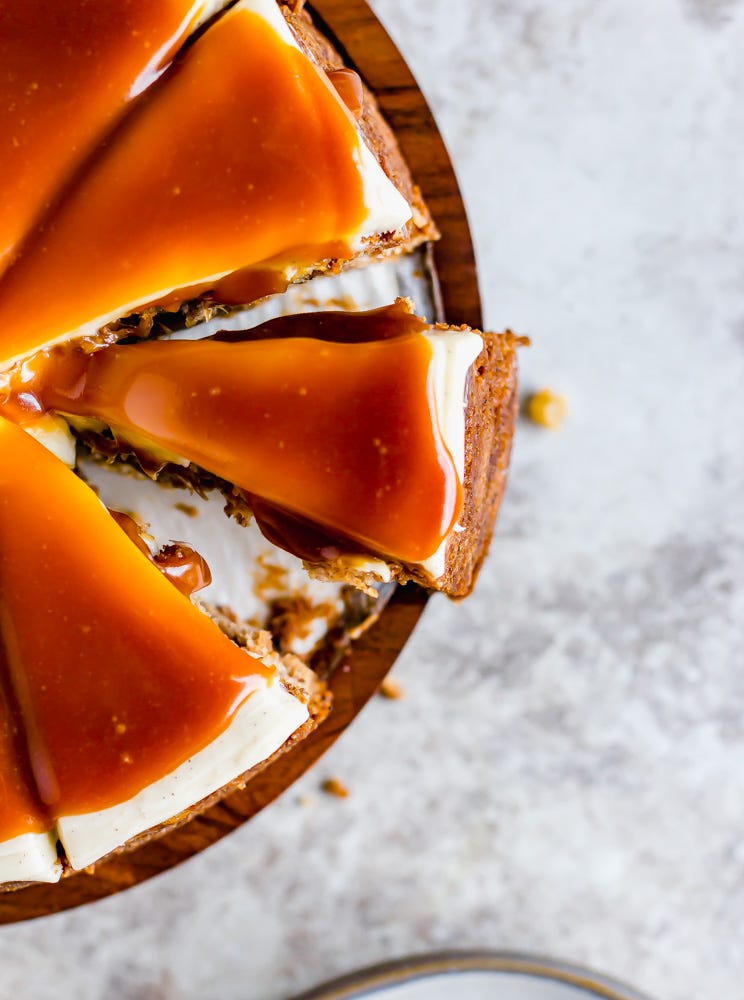
Out of fear of burning the caramel, many people don't cook their caramels long enough. I had a professor in pastry school who likened the process to adding cream to your coffee. When cooking the sugar, remember that you'll be adding cream which will lighten the color a bit. Cook your sugar until it is just one shade darker than you want your final product and then add the cream. I like my finished caramel to be a deep amber color (which you can see in the photos above).
Cleaning all of your sticky, sugar-laden dishes can be a pain! For easy clean up, fill your skillet with water and plop your sticky tools inside. Bring the water to a boil and then pour it out and wash your dishes. All of the caramel should come right off with the hot water.

and lots of apple recipes!


salted caramel
Ingredients:
65 g (4 1/2 tbsp) unsalted butter, cubed
160 g (3/4 cup plus 1 tbsp) granulated sugar
100 g (7 tbsp) heavy cream
pinch of salt
Procedure:
Set a large skillet over medium heat. Add half of the sugar in a single layer on the bottom of the skillet. Cook, without stirring, until the sugar begins to brown and liquify in the center of the pan. At this point, you can use a wooden spoon to gently scoot some of the sugar from the outer edges towards the center.
When about 50% of sugar has liquified, you can add the remaining half of the granulated sugar, again in an even layer over the skillet.
Continue cooking, stirring as little as possible, until all of the sugar has dissolved and the caramel is a deep amber color.
Remove the caramel from the heat and carefully whisk in the heavy cream. This will bubble angrily, but that's okay! Return the skillet to the heat and cook for one more minute, until the caramel is smooth and has a deep brown color.
Remove the caramel from the heat again and whisk in the butter, a few cubes at a time. When all of the butter is added, sprinkle in a big pinch of flaky salt and let cool. Store in a sealed jar in the fridge for up to two weeks.
So many great looking apple recipes! I'm definitely someone who has typically avoided making homemade caramel but this post makes me feel like I can handle it and should give it a try. Thanks!