


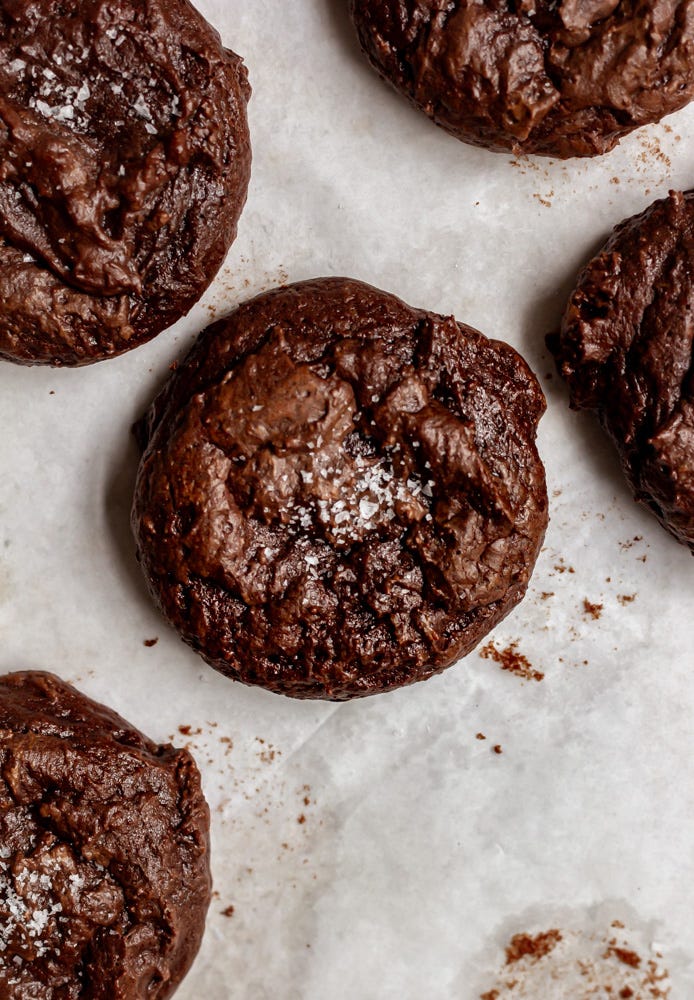
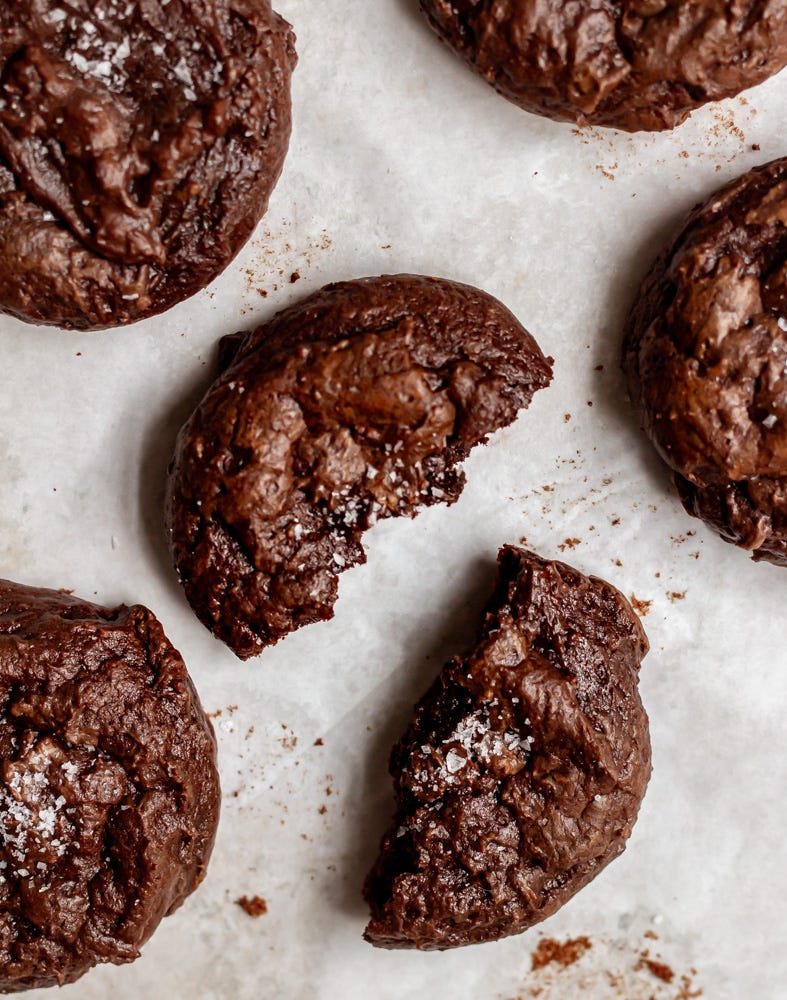
Dark Chocolate Orange Cookies
a citrusy brownie cookie

Around this time more years ago than I feel old enough for, Martin and I celebrated our second anniversary with a little trip to Asheville. My cousin was getting married in the mountains later in the week, so we decided to turn it into a little vacation. While it feels like a lifetime ago, there are snippets of that trip that I remember in vivid detail as if they happened yesterday. It was cool and rainy on the day we planned to hike but we were not to be deterred, so we slipped and slid our way through the Great Smoky Mountains—quite literally as I lost my footing at one point and actually slid from the top of a hill into a muddy creek. I discovered my deep love for Indian food at Chai Pani as we stuffed ourselves on Bombay chili cheese fries and chicken pakoras. And we ate chocolate orange cookies from Well-Bred Bakery tucked into the cobblestone buildings of Biltmore Village.
After splitting a giant, fudgy cookie the size of a salad plate on our first day in town, we went back at least twice more during our trip just for the cookies. When we got home, I set out to re-create those chocolate orange cookies, tinkering until I got them right (dare I say better than the originals?). So it felt only fitting that a handful of years later, as we celebrate our 11th (!!) anniversary this week, I made a batch to commemorate another year of doing life together. I’m thankful that I have found a partner who loves adventuring and cookies as much as I do.
on the cookies…
The dough (or realistically batter) for this cookie is a bit different than your traditional cookie recipes. Instead of creaming together butter and sugar for our base, we’re starting off by whipping eggs and sugar to create little air bubbles. Meanwhile, we melt good dark chocolate and butter in a double boiler, and whisk together dry ingredients. The process for this recipe more closely resembles a brownie recipe rather than a cookie recipe, so don’t be scared when the batter is pretty runny. These cookies won’t be scoop-able right after mixing and they need a little chill time to be able to hold their shape. This is okay because it’s what will give us our fudgy little centers and crackly tops. Chill the dough for about 30 minutes and then scoop and bake, or scoop and freeze and bake later. Cookies baked with a shorter chill time will spread more, resulting in a thinner cookie, while a longer chill time will result in a taller, fluffier cookie. Both are winners.
chocolate orange cookies
makes 24-28 cookies
Ingredients
12 oz dark chocolate, chopped
1/2 cup (113 g) unsalted butter
1 1/2 cups (300 g) granulated sugar
4 eggs
2 tsp vanilla extract
1 tbsp orange zest (from one large orange)
2 tbsp orange juice
2 cups (250 g) all purpose flour
1/2 tsp kosher salt
1/2 teaspoon baking powder
2 tbsp dutch-processed cocoa powder
1/4 tsp baking soda
Procedure:
Melt the chocolate and butter together over a double boiler. Set aside and let cool to almost room temperature.
In a medium bowl, whisk together flour, cocoa powder, salt, baking powder and baking soda. Set aside.
In the bowl of a standing mixer fitted with the whisk attachment, whip sugar with eggs, vanilla, orange juice and zest on medium-high speed until the mixture is lightened in color and slightly thickened, about 3 minutes. (You should be able to pull the whisk out of the bowl and it should leave a ribbon-like mark in the mixture. If you aren’t using an electric mixer, just whisk vigorously!)
Switch to the paddle attachment on the mixer and gradually add dry ingredients, scraping down the sides to make sure that no dry streaks remain.
With the mixer on low speed, stream in the chocolate mixture and mix until completely combined and batter is all one color (ie, no pale streaks remain). Refrigerate for at least 30 minutes.
Preheat oven to 350° F and line a baking sheet with parchment paper. Using either a medium or large cookie scoop, portion cookies onto tray, leaving space between them because they will spread a little.
Bake for 6-8 minutes for smaller cookies, 8-10 minutes for larger cookies. Cookies are done when the edges are set and the tops are dry to the touch. Let cookies cool at least 5 minutes on the pan before transferring to a cooling rack.
P.S. It’s better to under bake these cookies, rather than over bake. They will continue to set up while cooling on the tray and you don’t want to lose those gooey centers!