
Basic Citrus Curd
tips and tricks for a filling that goes with everything

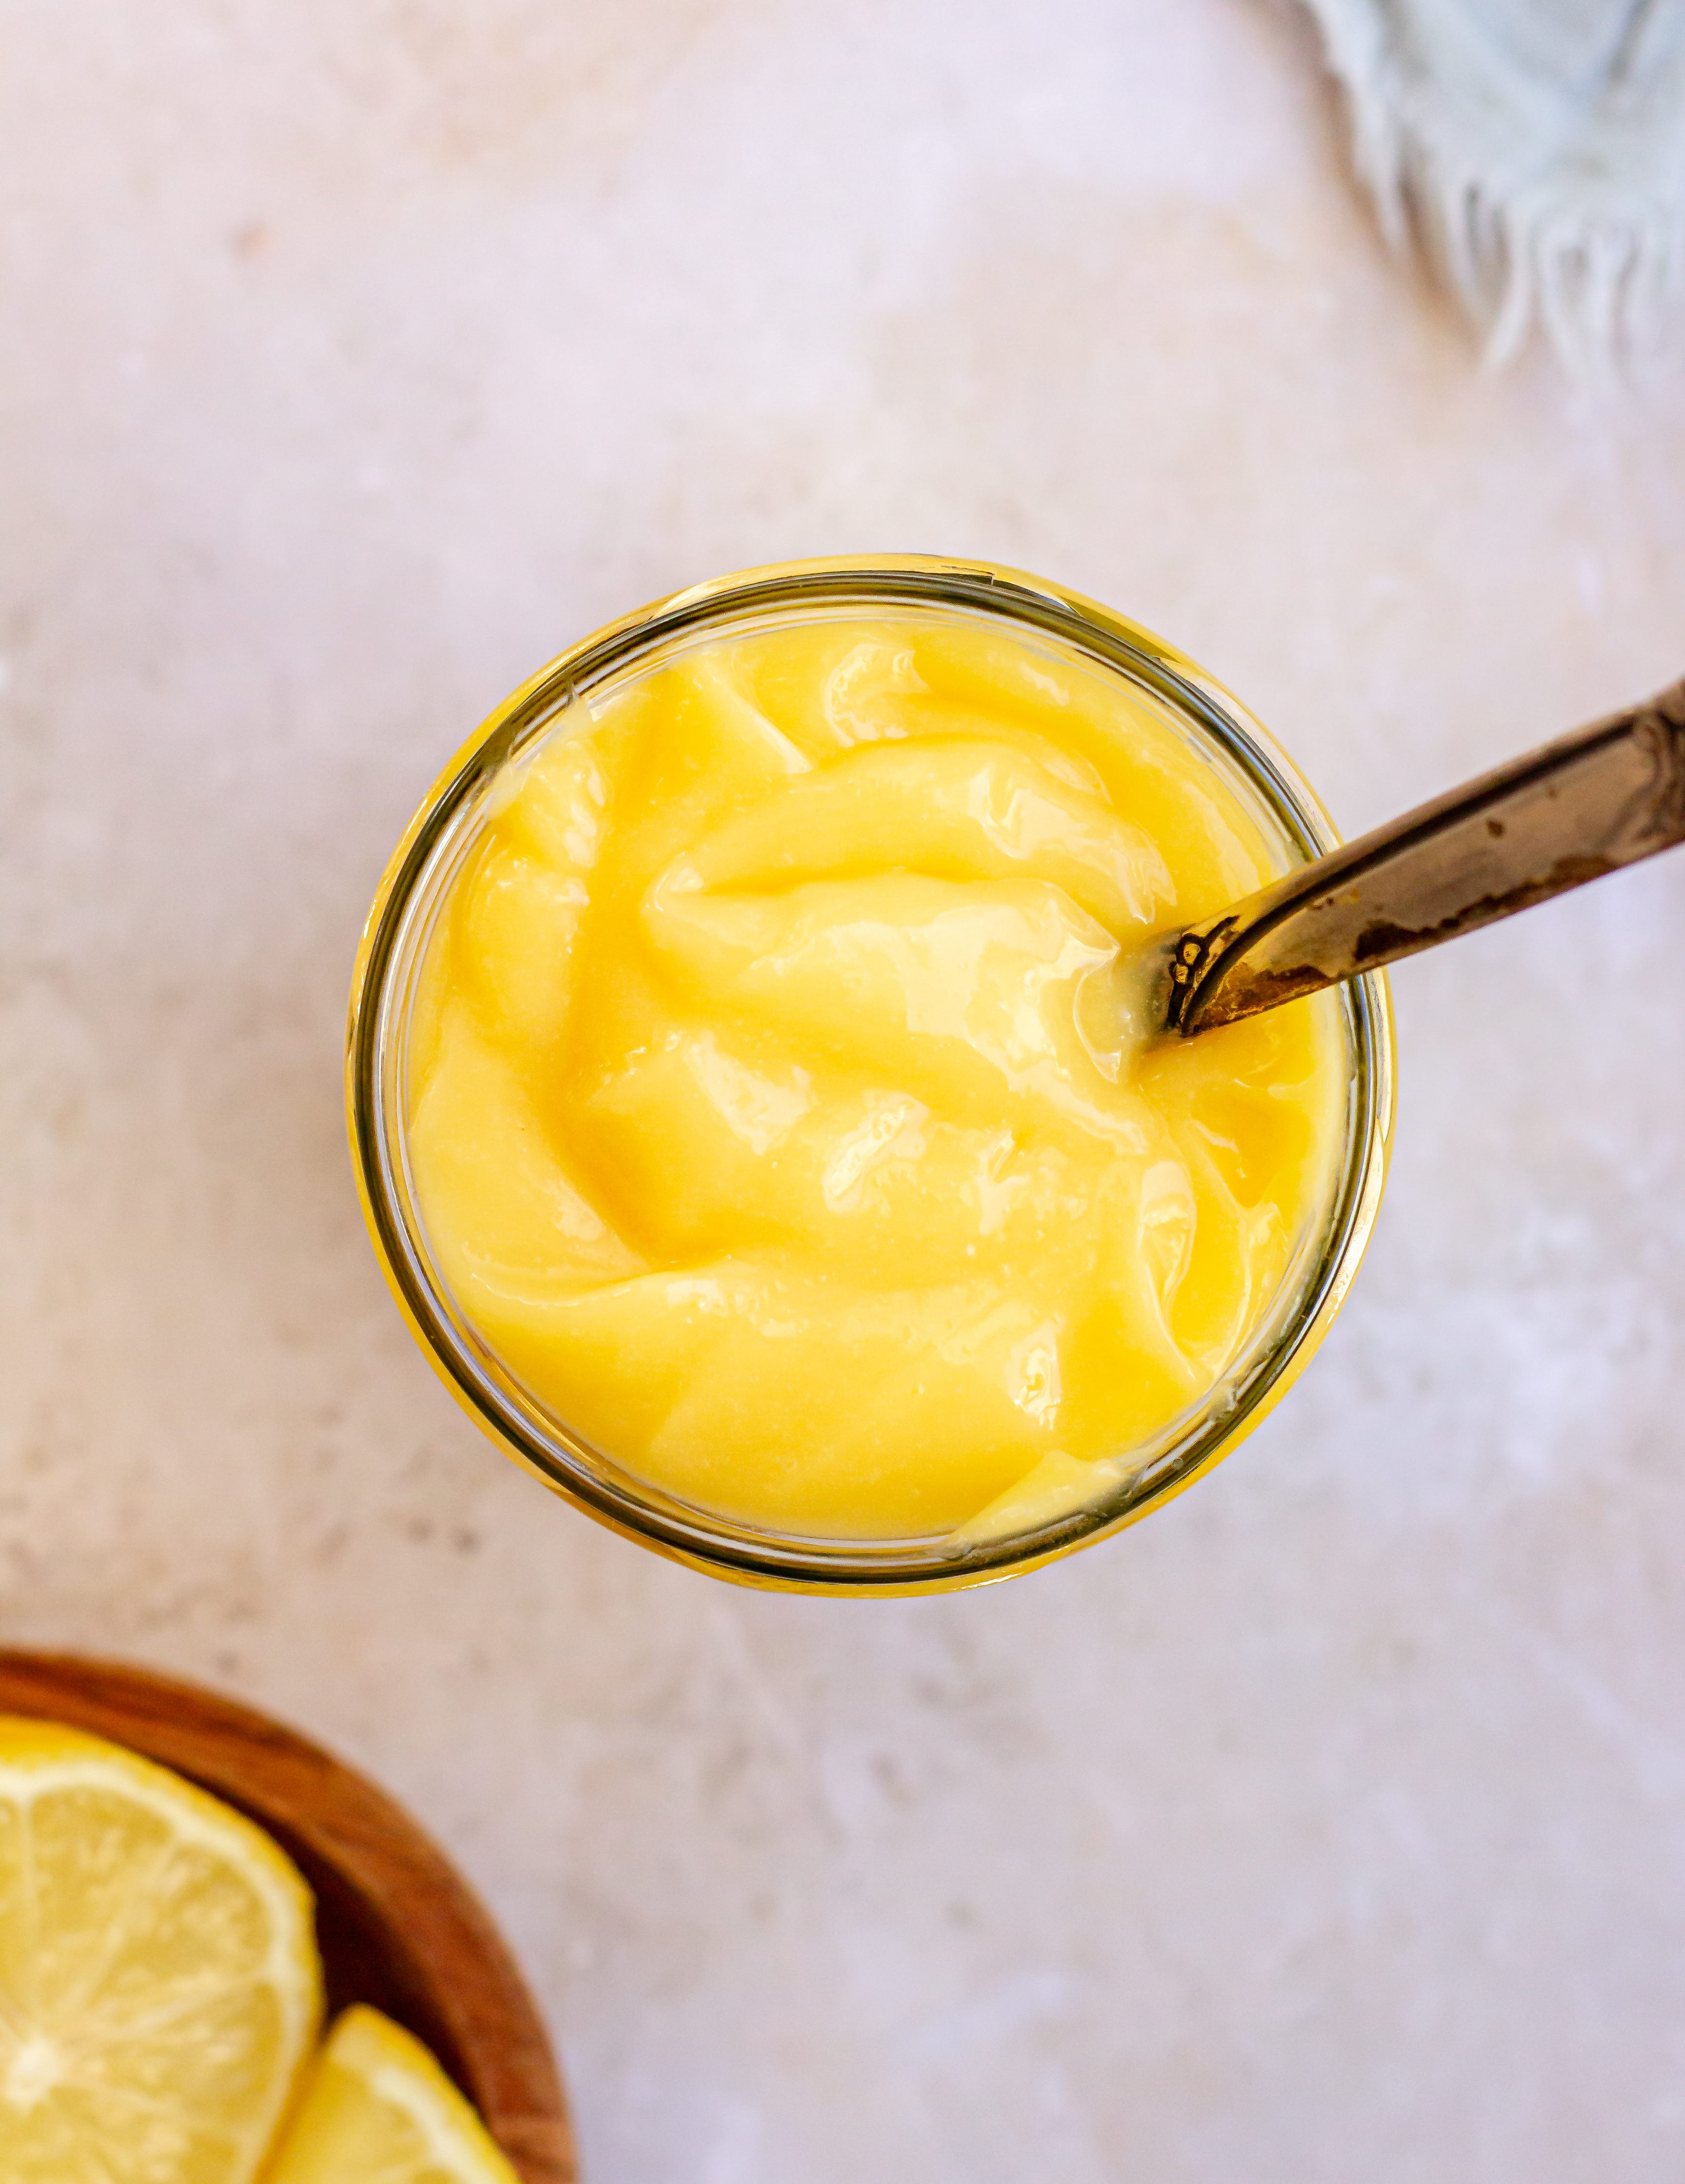
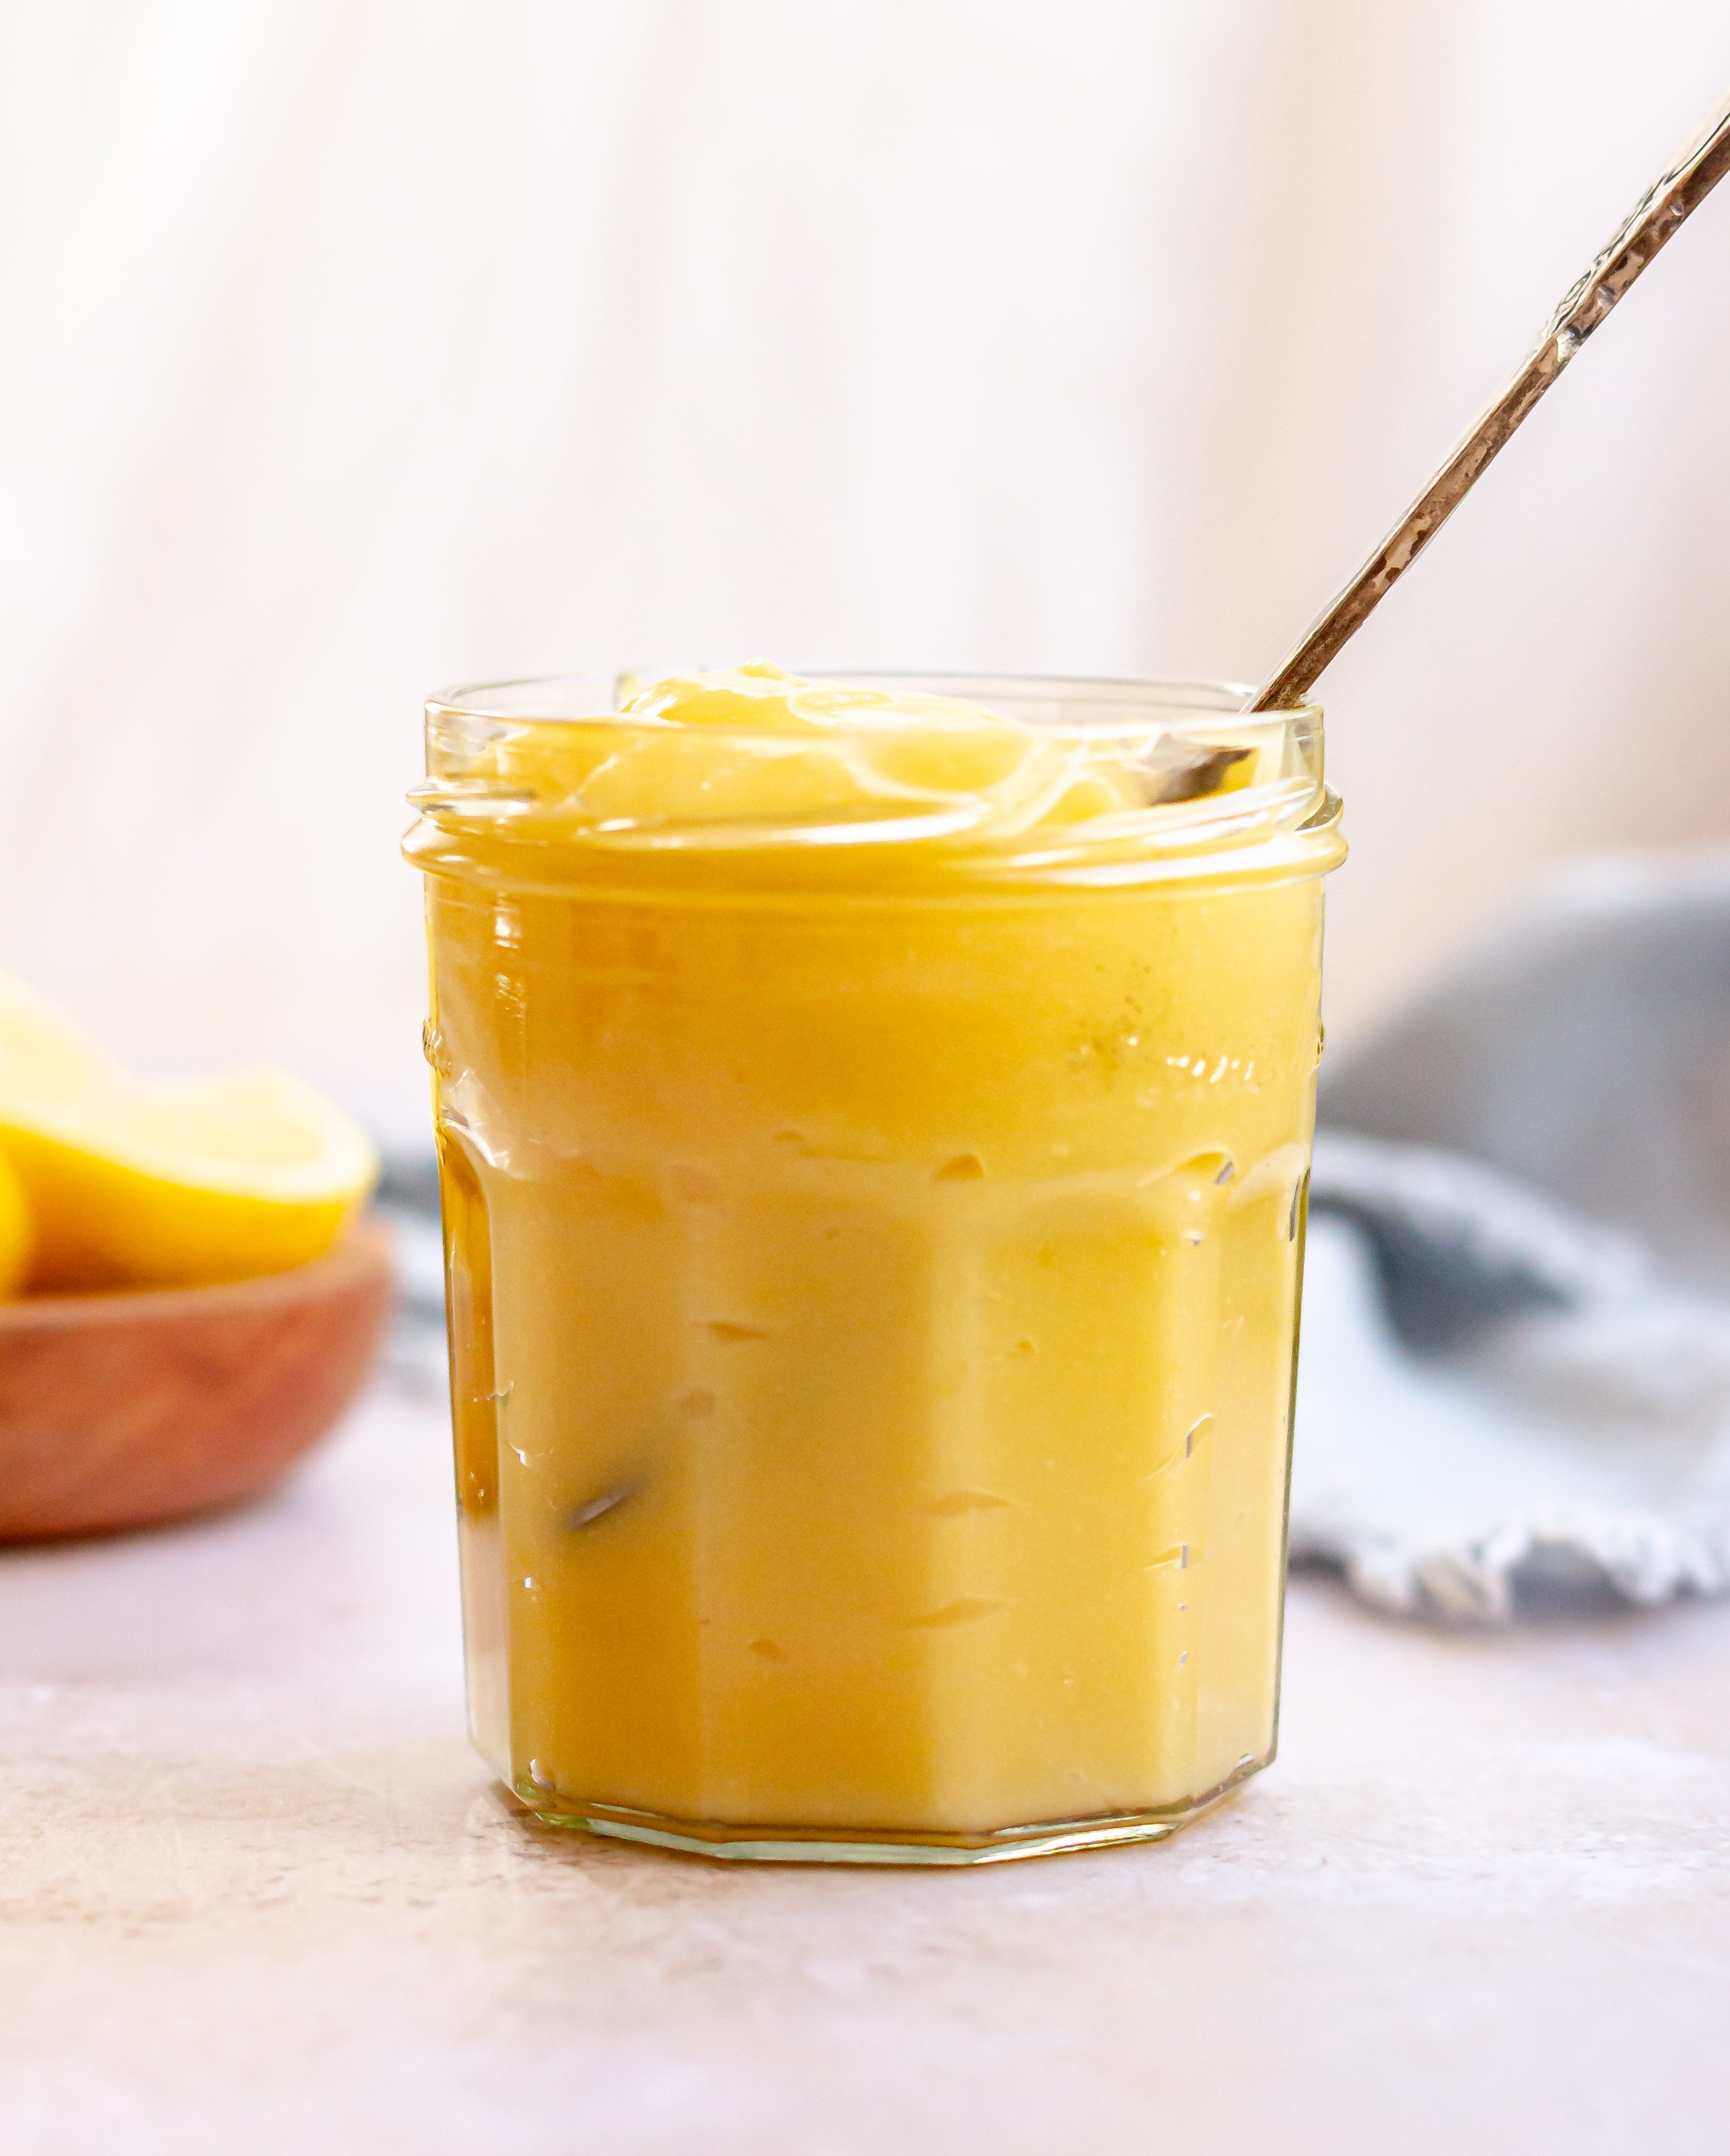
It has been a very long, frigid, and snow-covered winter here in the Northeast and one thing that has quite literally brightened my days is the jar of homemade orange curd sitting on the shelf in my refrigerator. Every time I open the fridge, its vibrancy reminds me that there is color and brightness still to be found and that spring will be here soon eventually.
I’ve always loved that citrus fruits shine in the dead of winter. When you get to the point of the year it feels like everything is hibernating, the nights are long and days are often gloomy and cold, the brightest fruits come into season. We’ve enjoyed beautiful mandarins and Sumo citrus, deep coral-colored Cara Cara oranges, Honeybells sent from my parents in Florida and golden Meyer lemons over the last few months—their zingi-ness providing a much needed contrast for all of the mellow root vegetables and cozy stews filling our days.
And citrus curd is even better. It’s a low-effort, high-reward dessert that can be spooned over scones or biscuits, stirred into yogurts, piled into tarts or onto meringues, and baked or layered into cakes.
A Very Spring Dessert

olive oil + orange curd + whipped mascarpone + vanilla roasted strawberries = endless dessert possibilities
A curd can really be made with any fruit juice provided it has some acidity. It’s a creamy, spreadable custard-adjacent dessert made by simmering fruit juice with sugar and thickening it with egg yolks and cornstarch. It’s a fairly simple technique that, once mastered, can become an adaptable staple in your baking routine. Here are a few tips for perfect curd every time.
tips for making great curd:
Mise-en-place your ingredients. With any cooked custard, the biggest concern is curdled eggs so having all of your ingredients measured and tools laid out before starting helps to keep focus on the cooking process minimizing the risk of over cooking. For a curd (and most other custards) I like to grab two mixing bowls, a medium saucepan, a whisk, a rubber spatula, a wooden spoon, and a sieve or strainer.
Divide the sugar. Some curd recipes call for simmering all of the sugar with the fruit juice, but I like to split my sugar into two portions. Half of the sugar gets simmered with the fruit juice while the other half gets whisked with the cornstarch (and zest if using). The sugar granules help to break up any clumps in the cornstarch helping to prevent any weird starchy clumps from forming in your curd.
Stir, stir, stir! Cooked custards utilize a technique called tempering which helps combine a hot liquid with eggs and egg yolks in a manner that prevents curdling. To do this, the hot liquid is very gradually streamed into the eggs while whisking continually. Then, when all of the liquid has been added, the entire mixture is transferred back onto the heat and cooked—again stirring constantly to prevent the eggs from scrambling on the bottom of the pan. Keeping a custard or curd moving by stirring and scraping the entire time is key to preventing curdling.
Strain. When the curd has begun to bubble and thickened sufficiently, remove it from the heat and strain it through a sieve before whisking in the butter. Straining will help get rid of any small clumps or curdles that formed while cooking leaving you with a silky smooth curd.

basic citrus curd
makes about 2 cups curd
Ingredients:
175 ml (¾ cup) citrus juice (orange, lemon, lime, grapefruit, etc)
1 tbsp citrus zest
1 tsp cornstarch
Pinch of salt
200 g (1 cup) granulated sugar, divided
2 large eggs
2 egg yolks
85 g (6 tbsp) unsalted butter, cubed
Procedure:
In a medium saucepan set over medium heat, combine juice and half of the sugar and bring to a simmer to dissolve the sugar.
While the juice is heating, whisk together the remaining half of the sugar and the cornstarch to break up any clumps. Add the eggs and egg yolks and the zest and whisk to form a smooth paste.
While whisking continually, gradually stream the hot liquid into the egg/sugar mixture. Transfer the mixture back to the saucepan and return to the heat.
Cook, stirring continually, until the curd begins to thicken and a few bubbles begin to appear on the surface.
Remove from heat and pour the curd through a sieve into a clean bowl. Whisk in the butter until melted and emulsified.
Press a piece of plastic wrap directly on the surface of the curd to prevent the formation of a skin and chill. Transfer cold curd to a sealed container and store for up to a week.
Nice Shots! Do you do food photography?